

Ever feel like you have to repeat directions 10 times for some student to "get it"? A few years ago I saw a great tip for putting images on the board that lists the steps to follow. When I do a coloring/cutting/gluing task with my class, I usually have a specific order I want them to follow. It could be name first, then color, then cut, then glue. Or...name, color, cut. Anyway, I use this clip art to put on the board so the students can look up and remember what they are supposed to do and the order to do it in. All you need to do is:
1. Print out the images - on cardstock if possible.
2. Cut around the images.
3. Laminate (don't have to, but they hold up better if you do because you'll move them around a lot).
4. Stick magnets to the back. I save magnets that I get for free - the flat magnets like this:

In fact, we get these at school a lot - things in the mailroom, when folks come to visit and leave promotional materials for teachers and/or the students. So I cut these up and use my hot glue gun to glue them to the back of the laminated images.
There are different options for using these:

With the numbers...
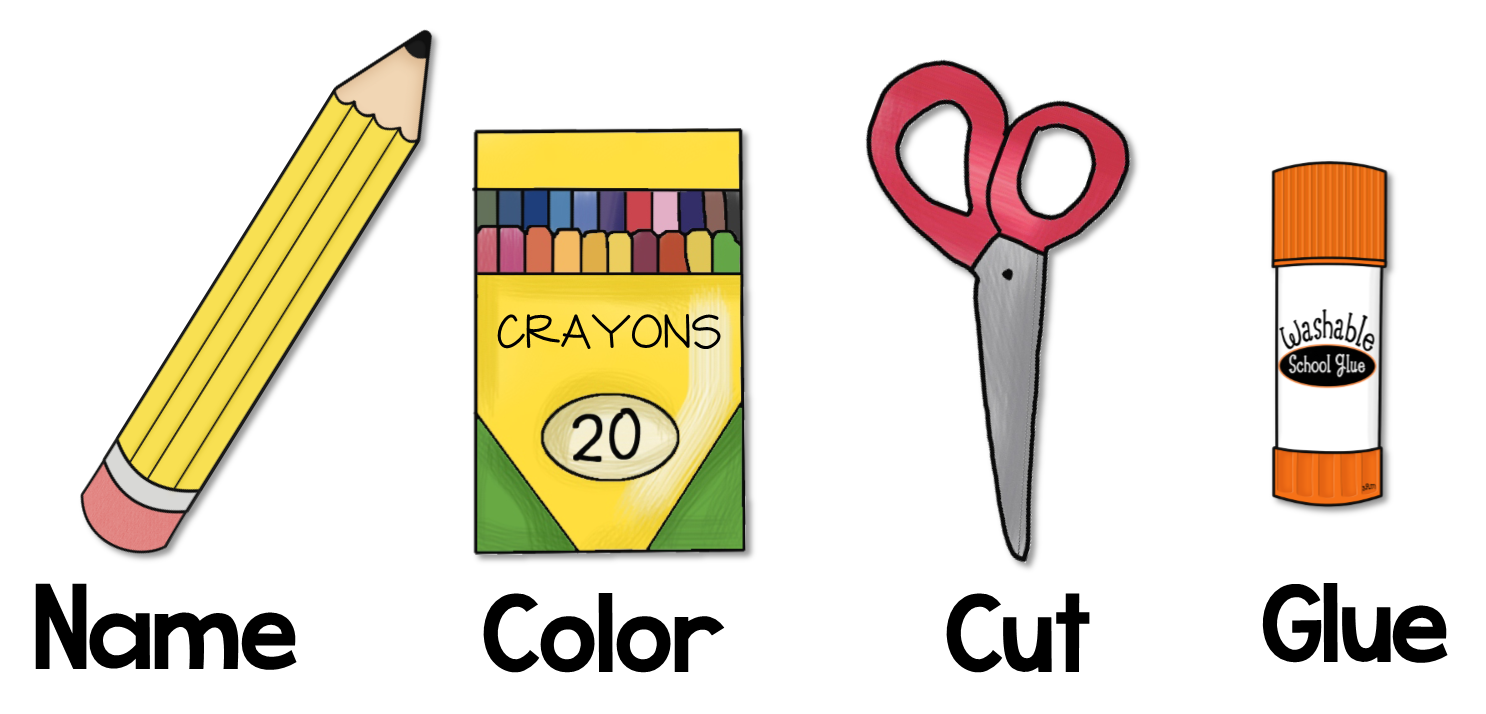
With the names....

With both.
Or, you could just use the photos :)
Click here or on the photos above to go to my Teachers Pay Teachers store to download these for FREE!
ALSO-
Don't forget about my raffle going on to win a Three Month Subscription to FarFaria! This would be AWESOME to have at the beginning of the school year. You can pick a book, project it on your document camera and it will read the book to the class while you run around and put up school supplies :) :) :)


Great idea! I can see how useful they could be. Would you like to share links. my blog is www.doreensrockin3rdgrade.com
ReplyDelete